

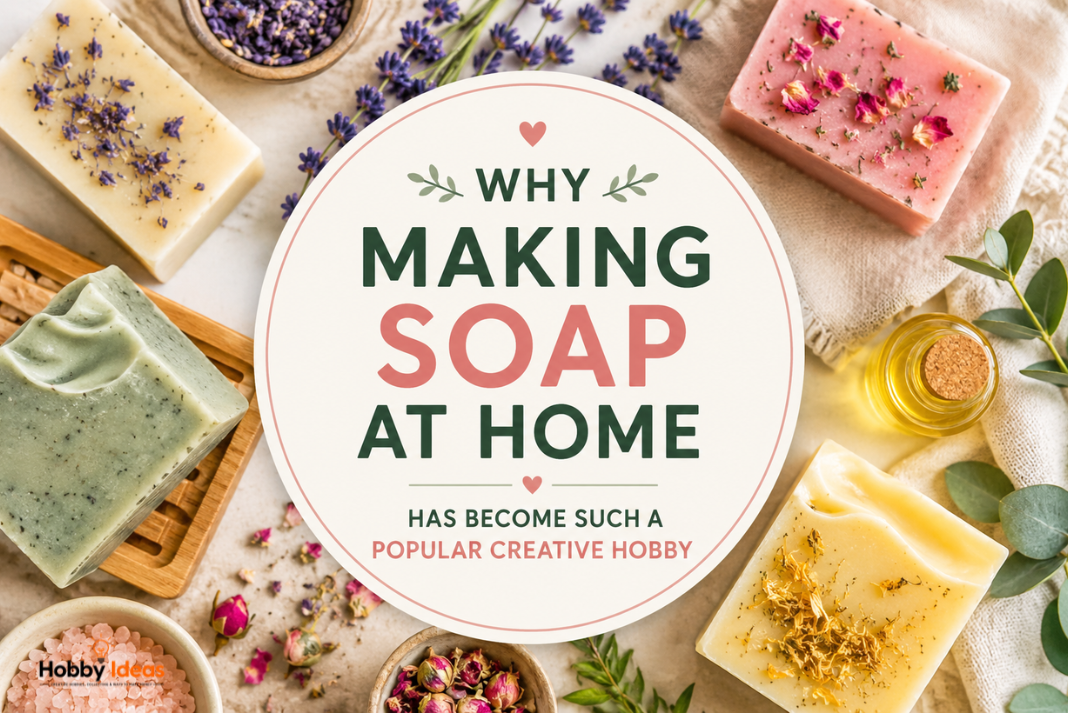
Making soap at home is a wonderfully creative hobby that combines beautiful colours, interesting fragrances and the satisfaction of making something useful. Better still, beginners can get started with melt-and-pour soap without learning complicated techniques.
Whether you fancy creating lavender-scented bars, colourful floral soaps or thoughtful handmade gifts, soap making offers plenty of room to experiment. In this beginner-friendly guide, we’ll explore the different methods, the equipment you’ll need and how to make your first batch. We’ll also cover common mistakes and the UK rules to understand if you eventually want to sell your creations.
Why Making Soap at Home Feels So Relaxing
Melting, mixing, pouring and experimenting with colours can be a satisfying break from screens. Unlike some craft projects, soap also produces something practical: a finished bar you can use or give as a gift.
Handmade soap lends itself to marbled colours, simple botanical-inspired designs and attractive wrapping. If you enjoy other hands-on hobbies, our air-dry clay projects are another creative option worth exploring.
The Different Types of Soap Making
Melt-and-Pour Soap
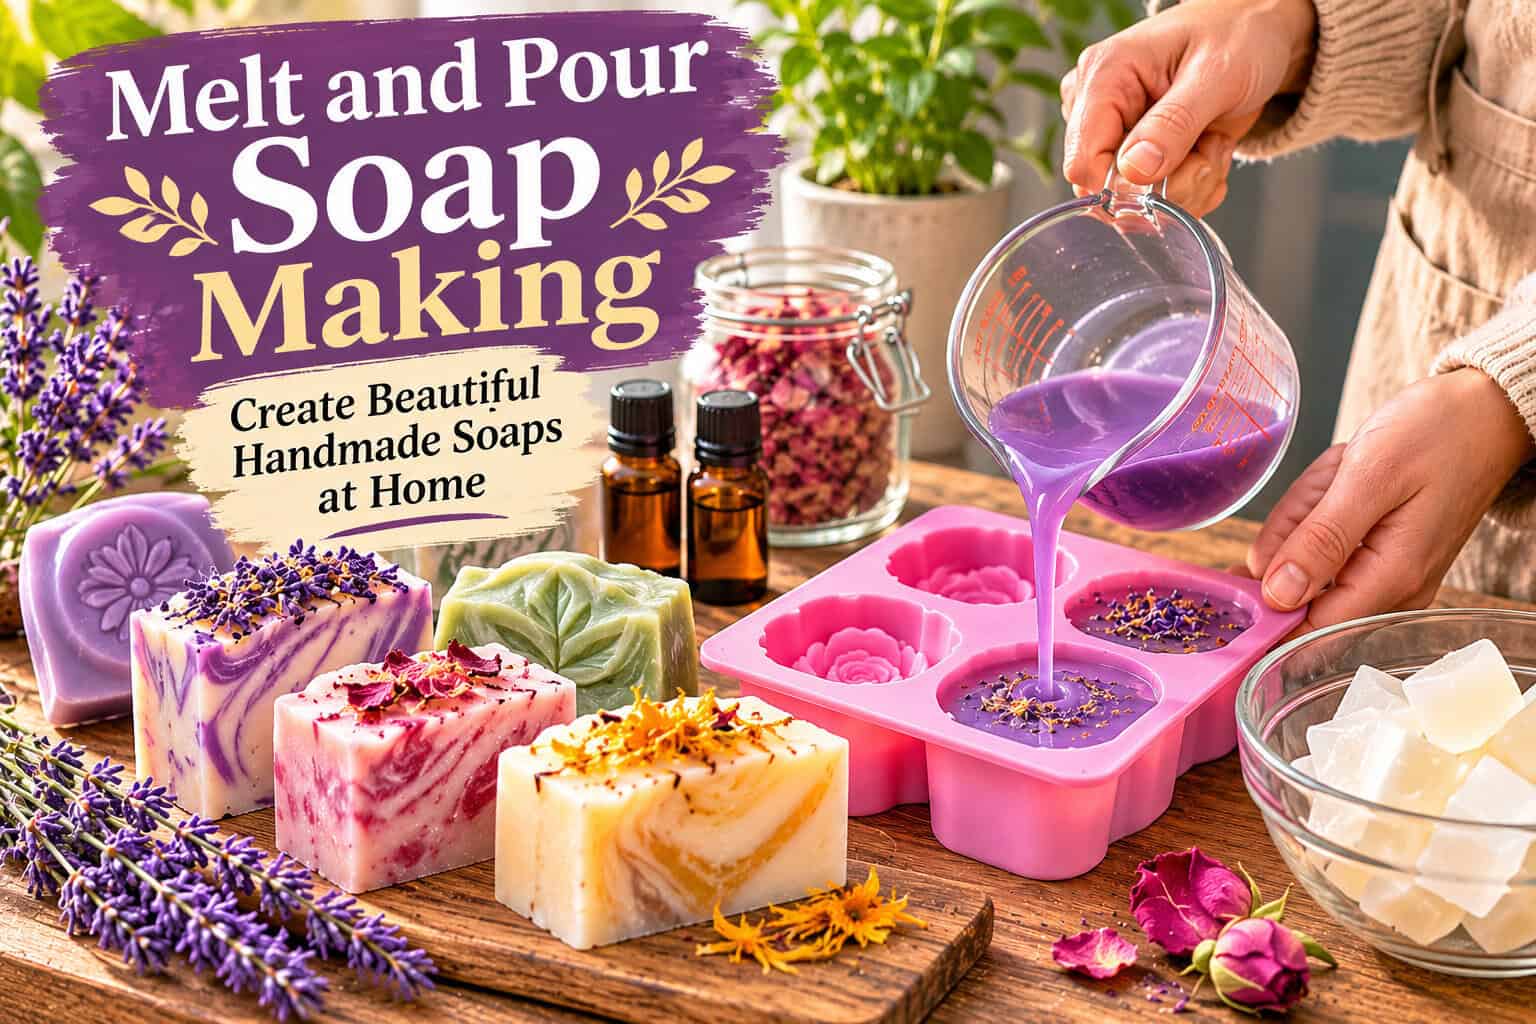
Start with a ready-made soap base, melt it gently, then add compatible colour or fragrance and pour it into moulds. It’s the most approachable option for a first project because you don’t handle raw lye.
Cold-Process Soap
Combine carefully measured fats or oils with a sodium hydroxide solution to make soap from scratch. This offers creative flexibility, but requires protective equipment, a properly formulated recipe and a curing period.
Hot-Process Soap
Use heat to progress the soap-making reaction before moulding. The result often has a more rustic finish. It still involves caustic ingredients and isn’t the simplest starting point.
Rebatching Soap
Grate or chop existing plain soap, gently soften it with heat and a little liquid if required, then press it into moulds. Rebatching can help you reuse suitable soap scraps, although the finished bars often have a textured, rustic appearance.
How to Make Melt-and-Pour Soap at Home: A Beginner’s First Project
If you’re wondering how to make soap at home without complicated equipment, this is a good place to start. You can make approximately four small bars from 400g of soap base, depending on the size of your moulds.
Your First Soap-Making Project
You’ll need: 400g melt-and-pour soap base, a silicone soap mould, a suitable heatproof jug, a silicone spatula and optional soap-safe colourant or fragrance.
Time: Allow about 20–30 minutes for preparation and pouring, then roughly 1–3 hours to cool and set. Follow the soap-base manufacturer’s instructions, as times vary.
Prepare Your Workspace
Clean and dry your equipment, protect your worktop and place the mould on a level surface. Cut the soap base into small, even cubes.
Melt the Soap Base
Use the manufacturer’s recommended method, such as short microwave bursts or a bain-marie. Stir gently between intervals. Avoid boiling or overheating the soap.
Add Colour and Fragrance
Mix in a small amount of soap-compatible colourant. If using fragrance, follow its skin-safe usage limits and your base supplier’s guidance.
Pour into Moulds
Carefully pour the melted soap into clean, dry silicone moulds. Work slowly to avoid splashes and excessive bubbles.
Allow It to Set
Leave the mould undisturbed until each bar is fully cool and firm. Larger shapes may take longer than small bars.
Unmould and Enjoy
Gently flex the mould to release the bars. Unlike cold-process soap, melt-and-pour soap doesn’t need weeks of curing. Use it once fully set, following the base manufacturer’s instructions.
Your first handmade soap doesn’t need elaborate swirls or perfect decorations. A simple, beautifully coloured bar is a wonderful place to begin.
How to Store Your Finished Handmade Soap
Melt-and-pour soap can attract moisture from humid air, creating tiny droplets sometimes called glycerine dew. Once the bars have cooled, follow the supplier’s wrapping and storage advice. Keep unused bars in a cool, dry place away from direct sunlight, and use a draining soap dish between washes.
Creative Soap Designs to Try Next
Once you’ve mastered a simple bar, experiment with pastel colours, flower-shaped moulds, layered designs or gentle fragrance combinations. Soap also makes an appealing subject for craft photography, particularly when displayed with linen, ceramic dishes and simple packaging.
Keep decorative additions suitable for cosmetic use. Some dried botanicals discolour or feel scratchy, so don’t assume an ingredient is skin-safe simply because it’s natural.
The Equipment Beginners Actually Need
You don’t need a workshop full of equipment to begin. For melt-and-pour soap, concentrate on a suitable base, heatproof jug, silicone moulds and stirring tools. Soap-safe colourants and fragrances are optional extras.
Beginner Essentials
- Ready-made soap base designed for cosmetic use
- Silicone moulds for easy release
- Suitable heatproof jug and heating method
- Silicone spatula for gentle stirring
- Soap-safe colours and fragrances if you’d like to personalise your bars
What About Cold-Process Equipment?
Cold-process soap requires accurately measured ingredients, a reliable digital scale, suitable containers, chemical-resistant gloves and eye protection. Because sodium hydroxide can cause serious burns, follow a properly formulated recipe and established safety guidance. Never improvise lye quantities.
Do You Need an Expensive Soap-Making Kit?
Not necessarily. Buying the basics individually is perfectly reasonable. However, a beginner kit can be convenient if you’d prefer several compatible craft supplies together. A combined soap-and-candle kit also lets you explore a second creative hobby.
CREATIVE HOBBY STARTER KIT
Make Beautiful Handmade Soaps & Scented Candles at Home
Fancy making colourful soaps, scented candles and thoughtful handmade gifts? The LFISGNN 2-in-1 Candle & Soap Making Kit combines two enjoyable crafts in one starter set.
Featured Kit: LFISGNN 2-in-1 Candle & Soap Making Kit
The kit is advertised with soap base, soy wax, moulds and a melter, giving beginners supplies for exploring both soap and candle projects. Check the current Amazon listing for the exact contents and instructions.
Experiment with different shapes, colours and scents, then present your creations as handmade gifts. Start with the included instructions and use only ingredients appropriate for the project you’re making.
Explore the Soap & Candle Making Kit on Amazon →
Amazon affiliate link
Can Making Soap at Home Become a Small Side Business?
Some hobbyists eventually create gift boxes, seasonal soap collections or small product ranges for craft fairs and online shops. However, selling cosmetic soap in the UK involves legal responsibilities, so it’s best to enjoy learning the craft before investing in a commercial range.
Even supplying cosmetic products free of charge can fall within regulatory requirements when they’re made available on the market. Before offering soap to customers, check the official rules rather than assuming handmade products are exempt.
Soap-Making Safety, Allergies and UK Selling Rules
Stay Safe When Making Soap at Home
For melt-and-pour soap, watch out for hot liquid soap, overheated containers and unsuitable additives. Follow the base manufacturer’s instructions, work on a stable surface and keep children and pets away from hot materials.
Choose colourants and fragrances intended for cosmetic soap and follow recommended usage limits. Essential oils aren’t automatically safe for skin at every concentration. Cold-process soap adds the hazards of caustic sodium hydroxide and requires suitable protective equipment and training.
Can You Legally Sell Handmade Soap in the UK?
Yes, but soap intended to cleanse the skin is generally regulated as a cosmetic product. In Great Britain, applicable requirements include a cosmetic product safety assessment by a suitably qualified assessor, a Product Information File, an identified Responsible Person, compliant labelling and notification before the product is placed on the market.
Rules differ in Northern Ireland. Before selling at markets, on Etsy or through your own website, read the official GOV.UK guidance on making cosmetic products available in Great Britain and check the requirements for your market.
The Biggest Soap-Making Mistakes Beginners Make
Most melt-and-pour soap problems are preventable. These six common mistakes are worth checking before you begin your next batch.
Overheating the Soap Base
Too much heat can cause bubbling and affect appearance. Melt gently, stir regularly and never allow the soap base to boil.
Adding Too Much Fragrance
Excess fragrance may irritate skin or spoil the finished bar. Use only soap-compatible fragrances within the supplier’s limits.
Using Unsuitable Decorations
Some dried flowers turn brown or feel scratchy. Choose cosmetic-grade additives compatible with your base.
Pouring Too Quickly
Rushing can create bubbles and spills. Pour slowly into clean, dry moulds on a stable surface.
Unmoulding Too Early
Bars can dent or lose their shape if they’re still soft. Wait until completely cool and firm.
Storing Soap Incorrectly
Humidity can create moisture droplets. Follow the soap-base supplier’s storage advice and keep unused bars dry.
A Little Advice for Your First Batch
Choose one soap base, one colour and perhaps one gentle fragrance. Once you’re happy with the results, experiment with layers and more elaborate designs.
More Relaxing Creative Hobbies to Explore
Soap making is a satisfying way to enjoy a practical, screen-free activity. If you’d like to try something different, explore our low-stress hobbies for adults or discover more ideas in our UK hobby ideas directory.
YOUR QUESTIONS ANSWERED
Making Soap at Home: Frequently Asked Questions
New to soap making? Here are answers to six common beginner questions.
Is melt-and-pour soap making suitable for beginners?
Yes. You melt a ready-made soap base, add compatible colour or fragrance and pour it into moulds. There’s no need to handle raw lye, although hot soap still needs care.
What equipment do I need?
Start with a melt-and-pour base, suitable heatproof jug, stirring tool and silicone moulds. Add soap-safe colours and fragrances if you wish.
How long does melt-and-pour soap take to set?
Many small bars firm up within one to three hours, although larger moulds can take longer. Follow your soap-base manufacturer’s guidance.
Can I add fragrance oils and colours?
Yes, provided they’re suitable for cosmetic soap and you stay within the supplier’s recommended usage limits.
Can I sell handmade soap in the UK?
Yes, but cosmetic soap generally needs to meet product safety, documentation, labelling and notification requirements. Check GOV.UK guidance before selling.
How long does homemade soap last?
Shelf life depends on the soap base, added ingredients and storage conditions. Follow the base supplier’s guidance, keep finished bars away from excess heat and moisture, and discard soap if its smell, colour or texture changes unexpectedly.
Final Thoughts on Making Soap at Home
Making soap at home combines creativity, relaxation and practical crafting in one rewarding hobby. Start with a simple melt-and-pour project, take care with hot materials and suitable ingredients, and build your confidence one batch at a time.
Whether you keep your handmade bars for yourself or create thoughtful gifts, there’s plenty of room to develop your own colours, scents and designs.
Affiliate Disclosure: This article contains affiliate links. As an Amazon Associate, we earn from qualifying purchases. If you buy through one of our links, we may receive a small commission at no extra cost to you. We only feature products relevant to the hobbies and activities we cover.